Demo Project
This document mainly takes Java as an example to demonstrate how to create a test project for developers who are new to OneNET MQ.
Prerequisites
- Please confirm that JDK and IDE environments have been installed properly on the local computer. If not, please download and install them first.
- Please confirm that the message queuing service has been enabled properly, with service resources created. If not, please finish service enabling and resource creation with reference to Quick Start.
Download a demo project
Download Demo Project and extract. After that, you should be able to find that an OneNET-MQ-demo folder has been added locally.
Configure a demo project
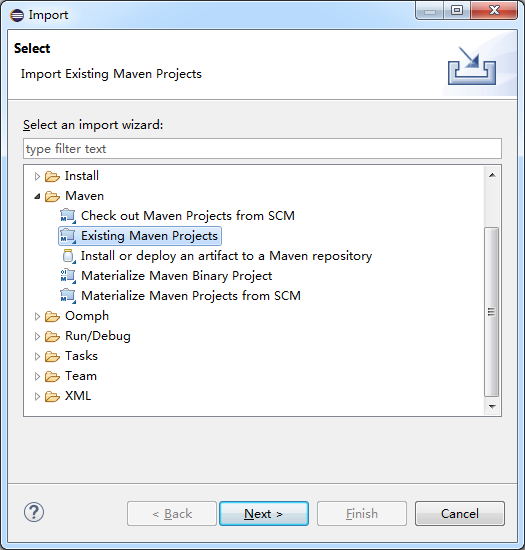
In IDE (taking Eclipse as an example), select File -> Import, and then select Existing Maven ProjectsExisting Maven Projects
Click Next and then Browse, and select the expanded OneNET-MQ-demo folder.
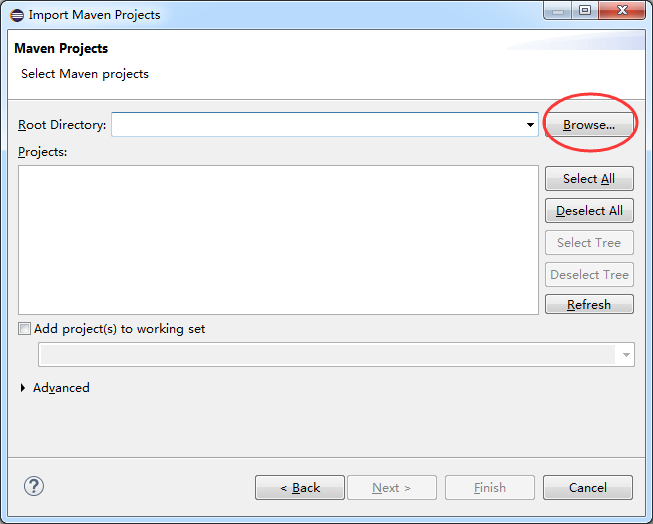
Import a project after clicking Finish
When importing a demo project, it is necessary to load dependent jars, and the whole import process takes about one minute.
Configure demo variables
You may use these instructions and resource parameters created on the platform to modify Lines 45-47 of the MqClient demo:in MqClient.java
line 45 - 47:
String userName = "your MQ instance name";
String mqTopic = "topic name you created";
String mqSub = "name of subscription you created";
line 81 - 83:
String userName = "your MQ instance name";
String accessKey = "your MQ access_key";
String expirationTime = "expiration time of your custom authentication parameter";
Note: If it must respond to puback manually, please set manualAcks in Line 25 of MqClient.java to true and reply manually to the interface with messageArrived under PushCallback class.
private boolean manualAcks = false;
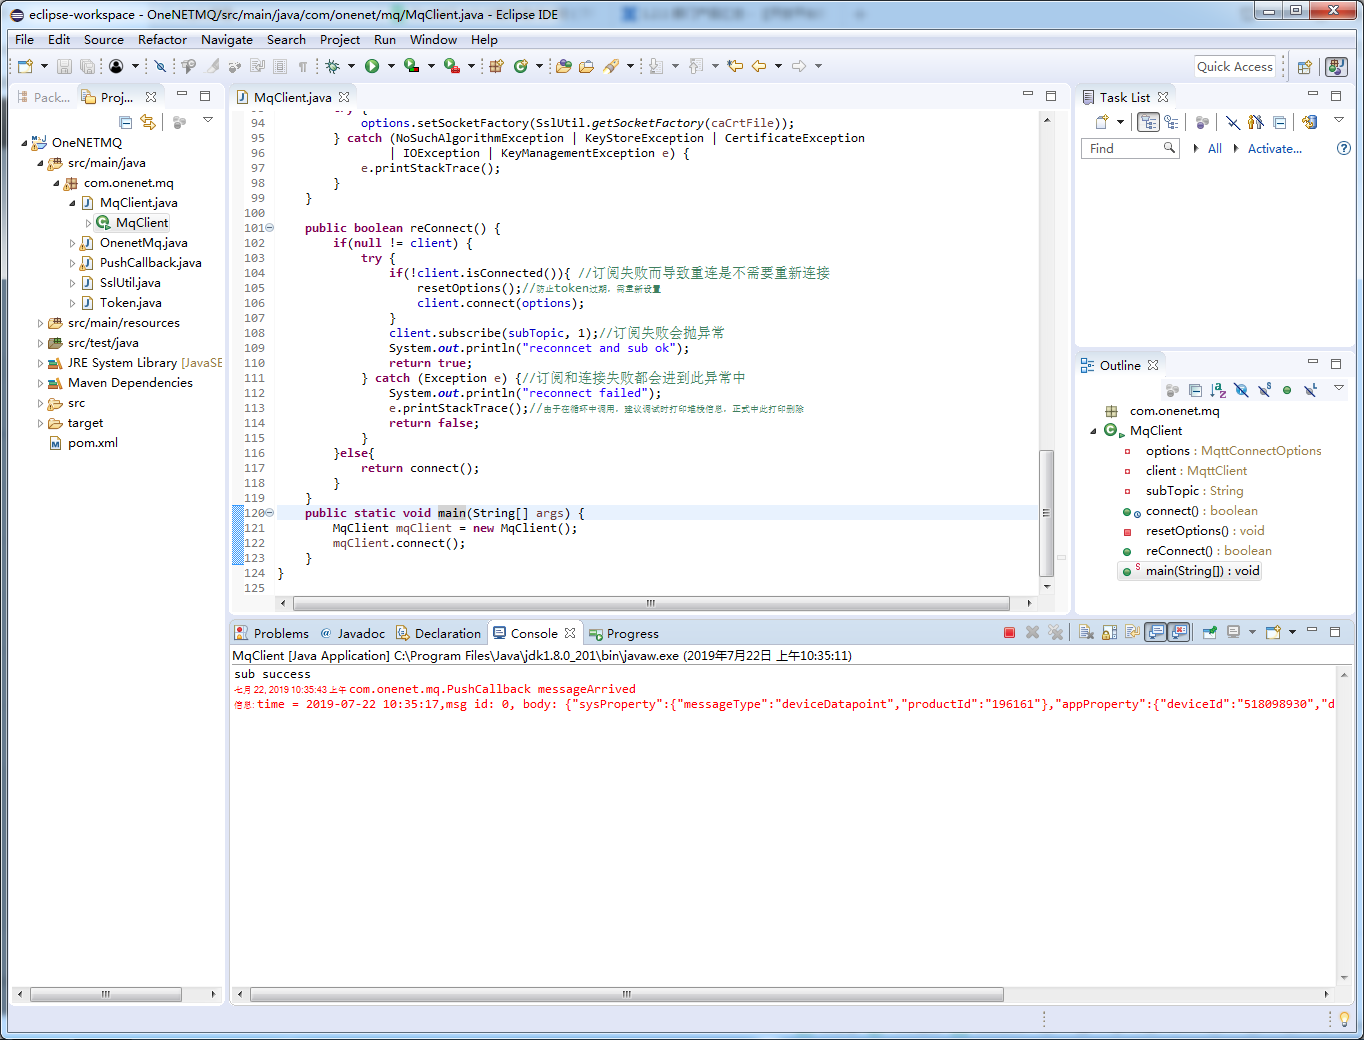
Run demo
Configure Rule Engine and produce messages. Run MqClient class to connect to the service and consume messages from a queue. After success, you can observe successfully consumed messages in Console.